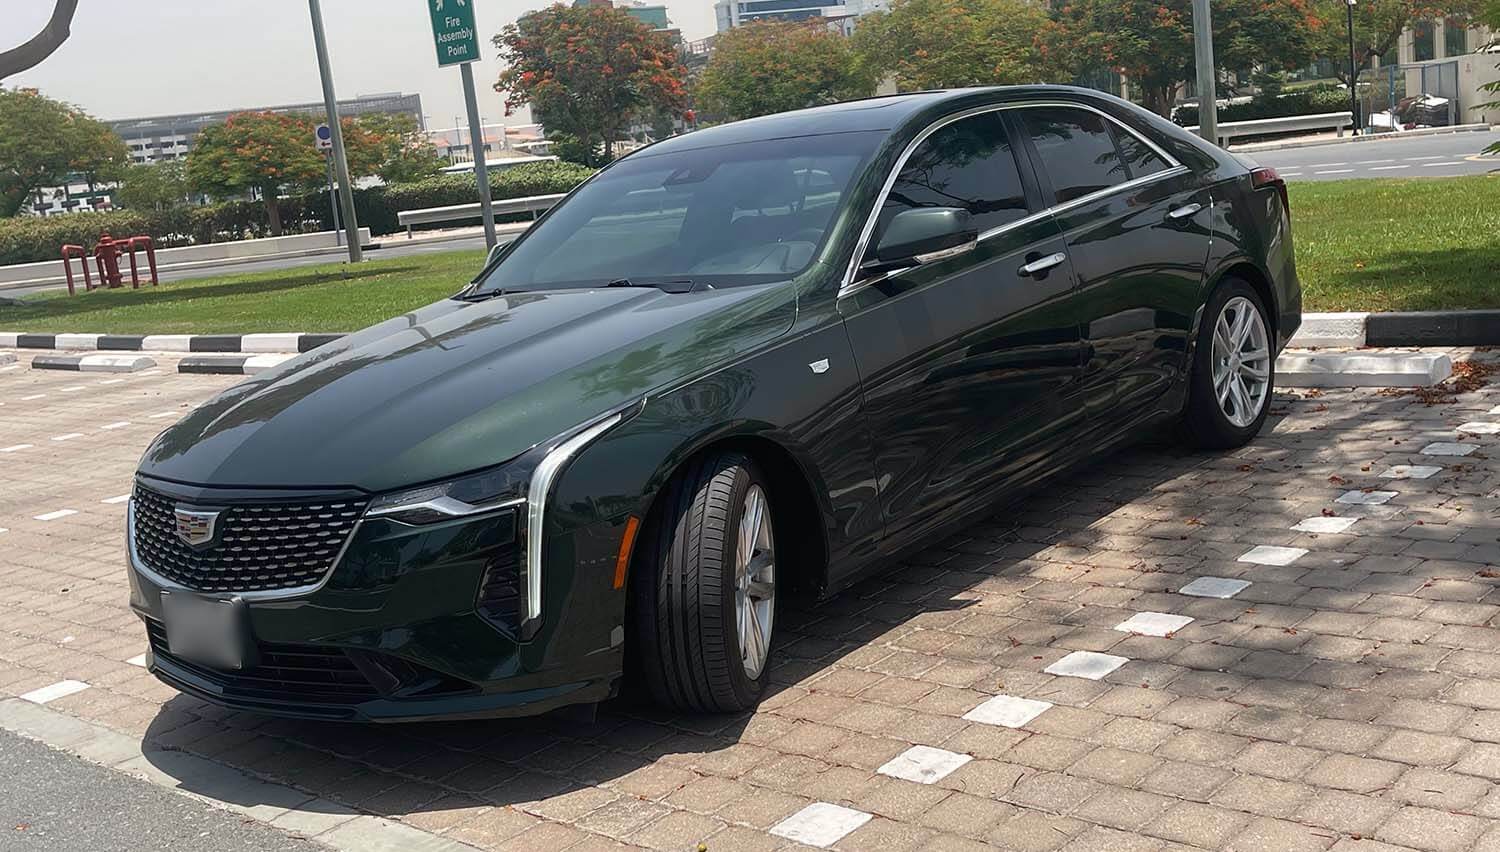

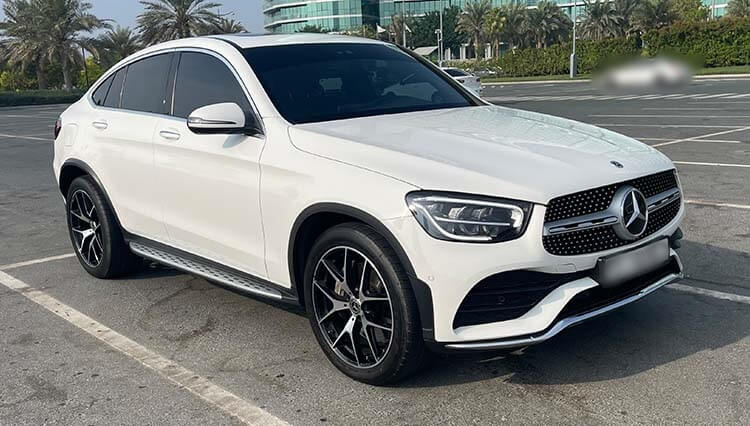

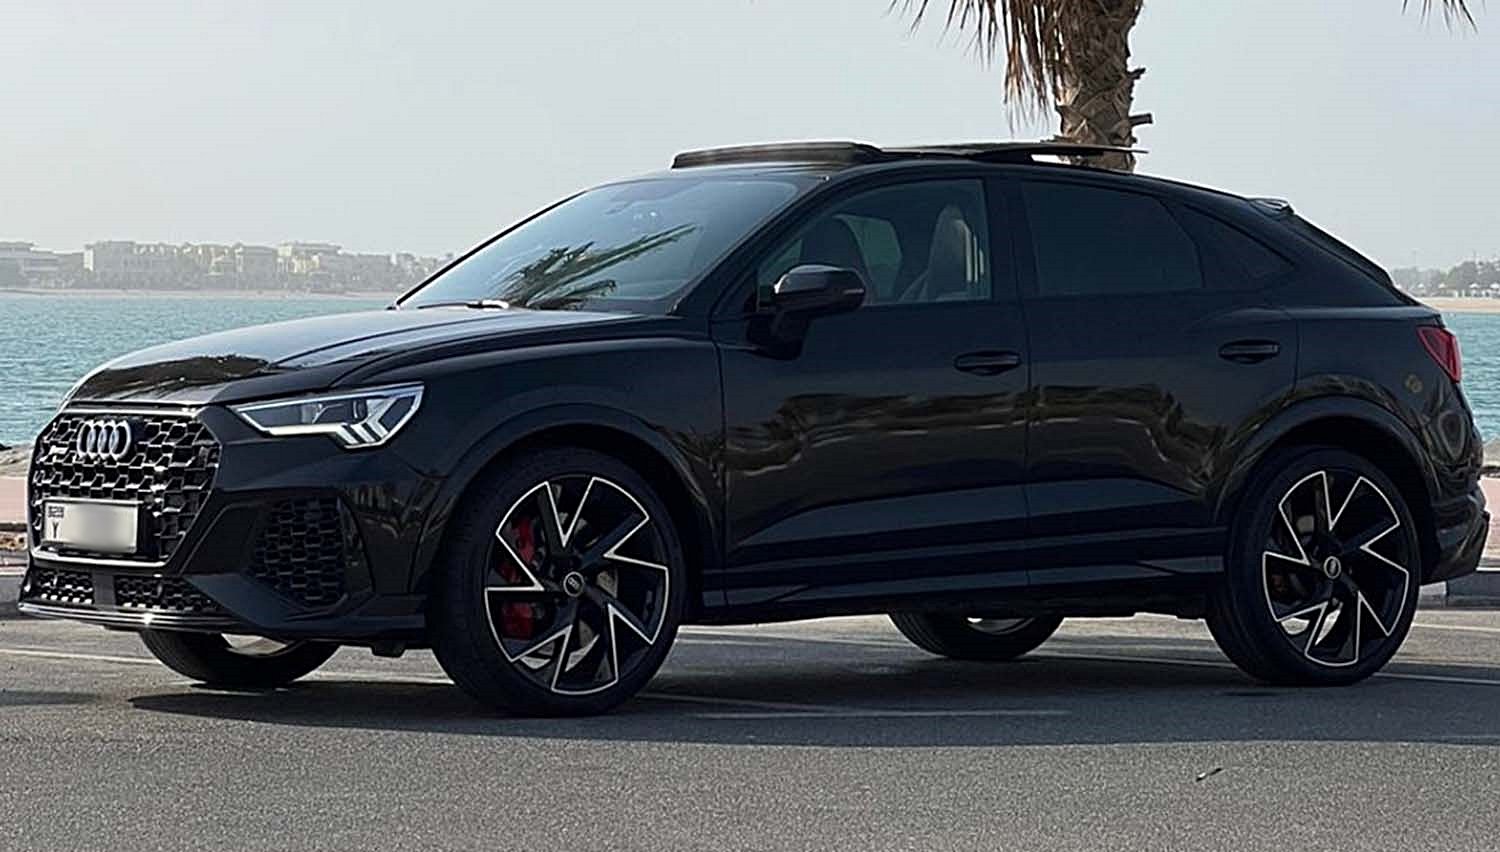


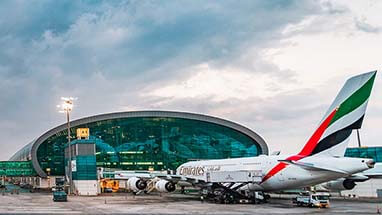
You've come to the right place for car rental at Dubai Airport. Renter Point make it easy to compare deals and choose the best option for your budget – so you can relax, save time and money when booking your Dubai Airport Rental Car. We also offer special discounts and offers that let you save even more. So don’t settle for second best – rent with confidence, knowing you got a great deal in Car Rental Dubai Airport!
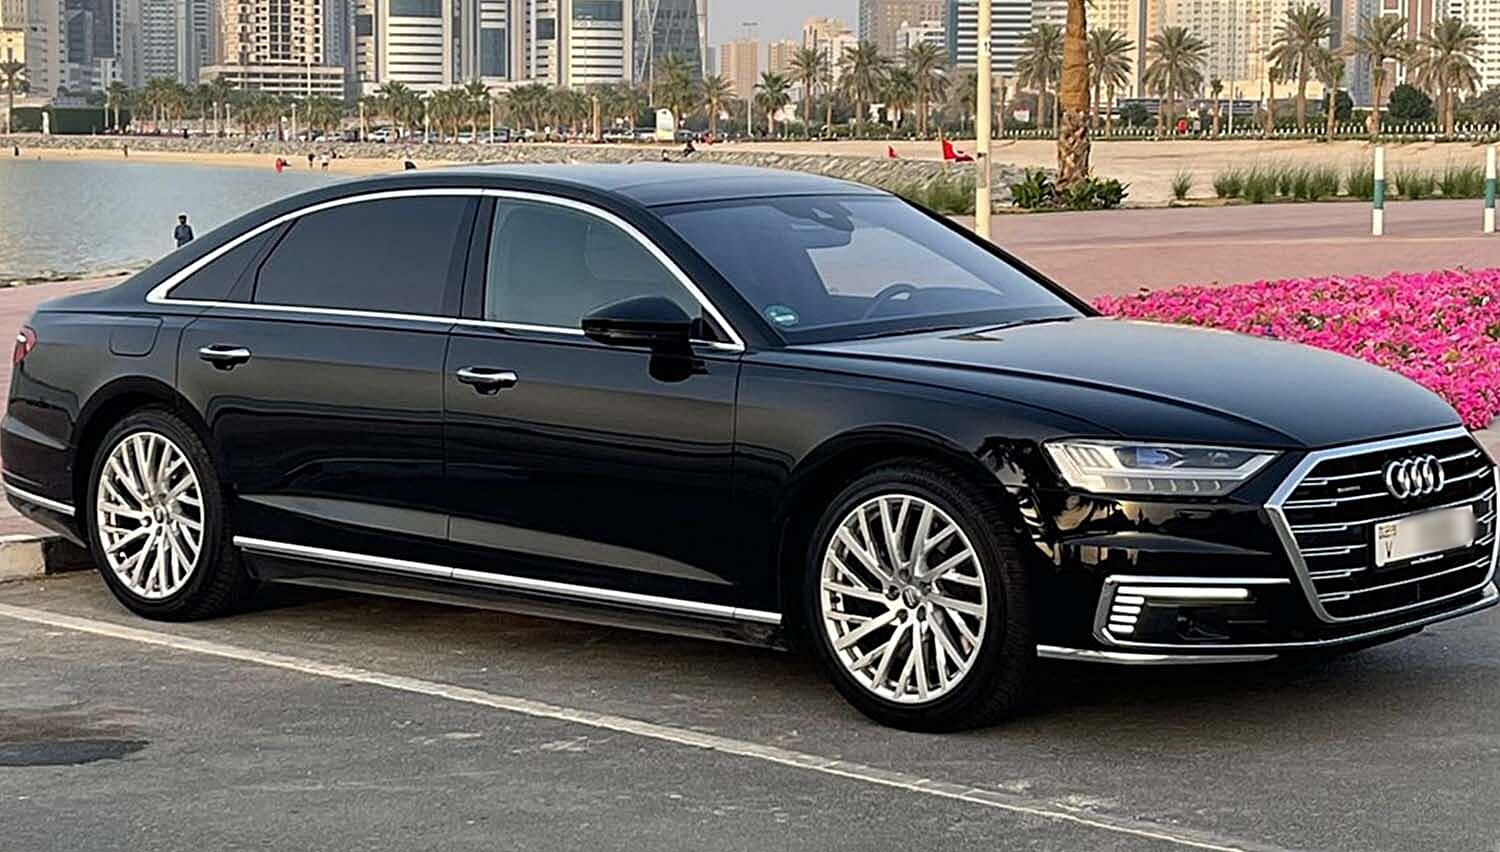
We always ensure that, you are getting the best deal in Dubai Airport Car Rental from our company and that’s the reason, we make it easy to compare deals and choose the best option for your budget. There is no doubt that, Dubai Airport Car Rental can score great savings on your transportation needs. Before you arrive at Dubai Airport, it’s important to be aware of the proper procedure for returning a rental car, As each day count as 24 hours and after completion of 24 hours, next day rent will start automatically.
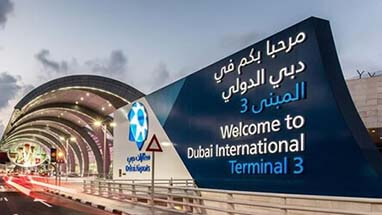
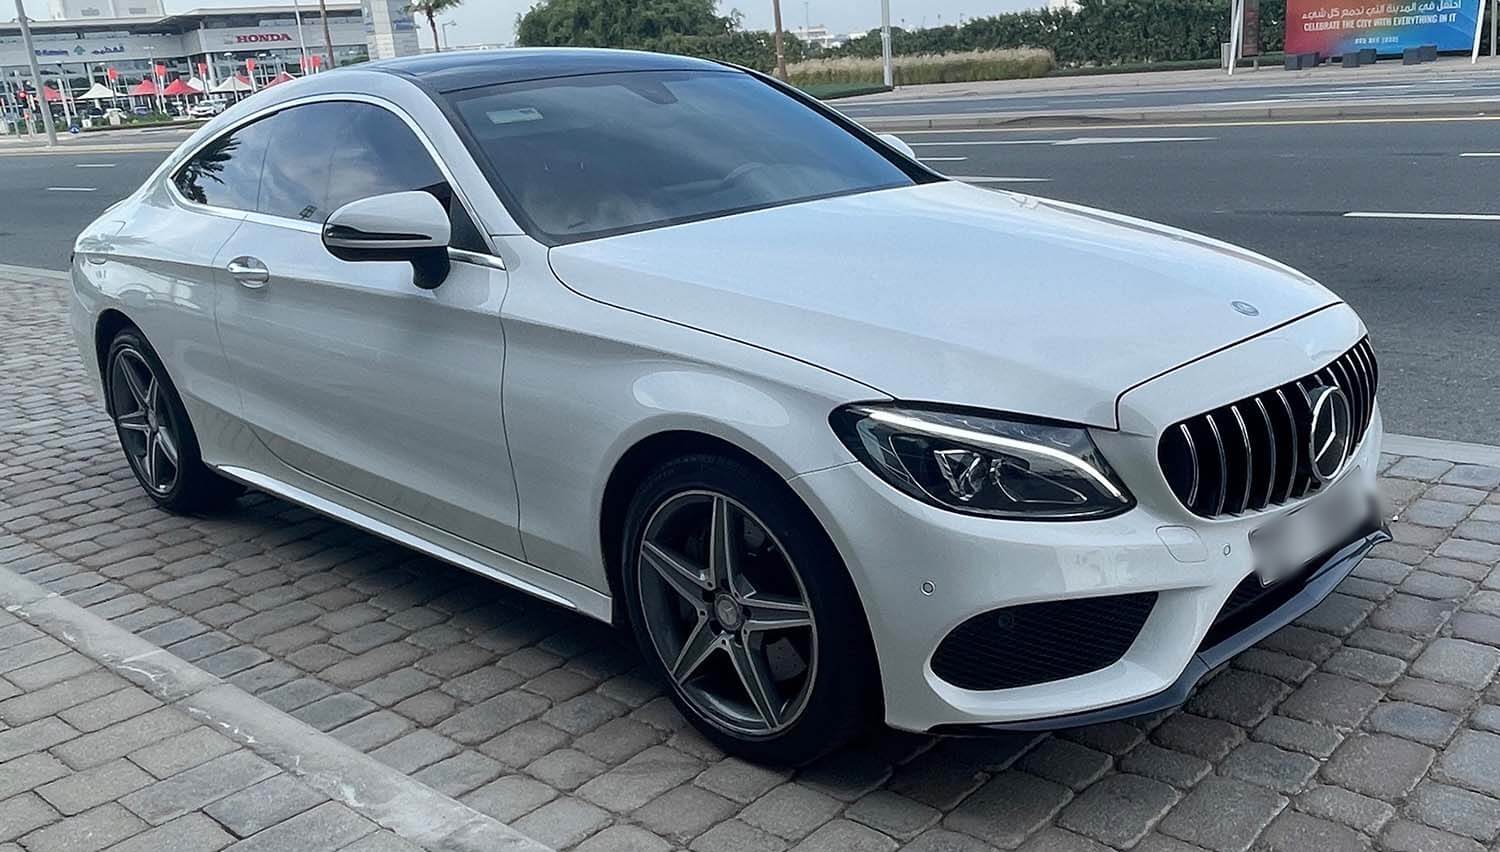
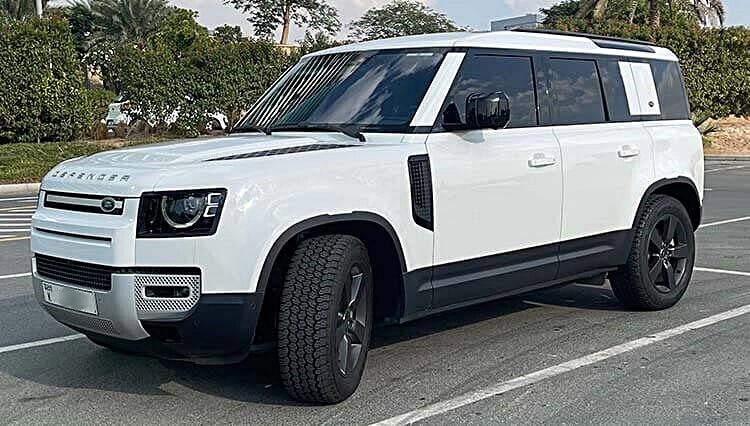
When looking for Car Rental Dubai Airport Terminal 3 then contact Renter Point for convenience, and affordability. We offer a wide range of car types and sizes to meet your needs. You can also take advantage of their great deals when booking online at our website. Dubai Airport Terminal 3 has its own designated car park service and drop-off points. To make the process of parking and dropping off your rental car easier.
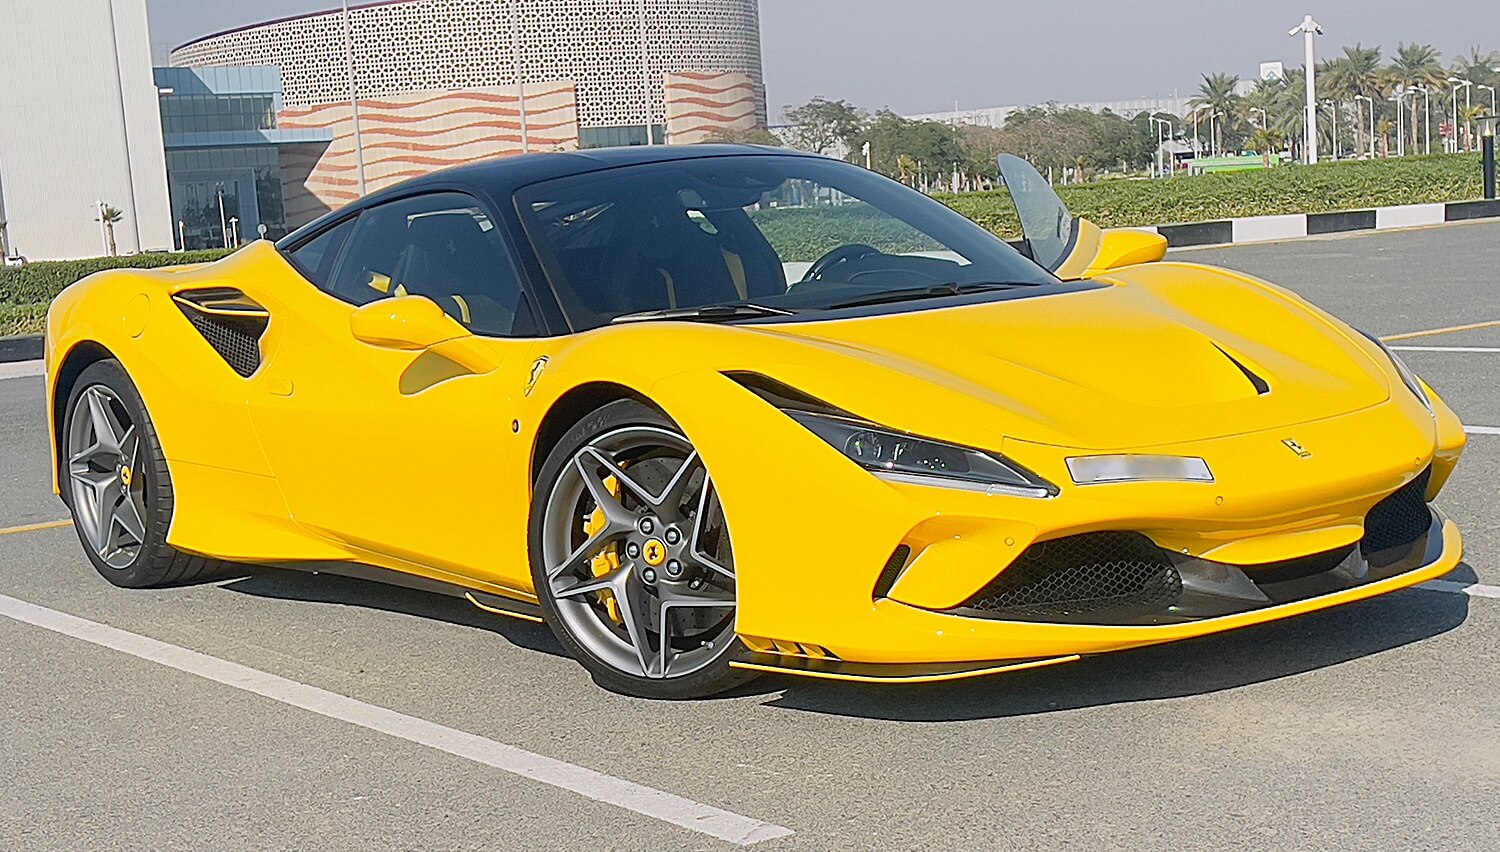
If you looking for a Car Rental at Dubai Airport Terminal 1, then here are several requirements and restrictions that you need to follow. The first requirement is of a valid driver’s license. The second requirement is of Driver age should be above to 21, The third requirement is of a valid credit or debit card. Additional fees might also be applicable depending on the type of car. So be sure to read through all the terms and conditions before signing up for a rental deal from our company.
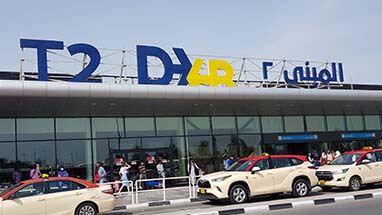
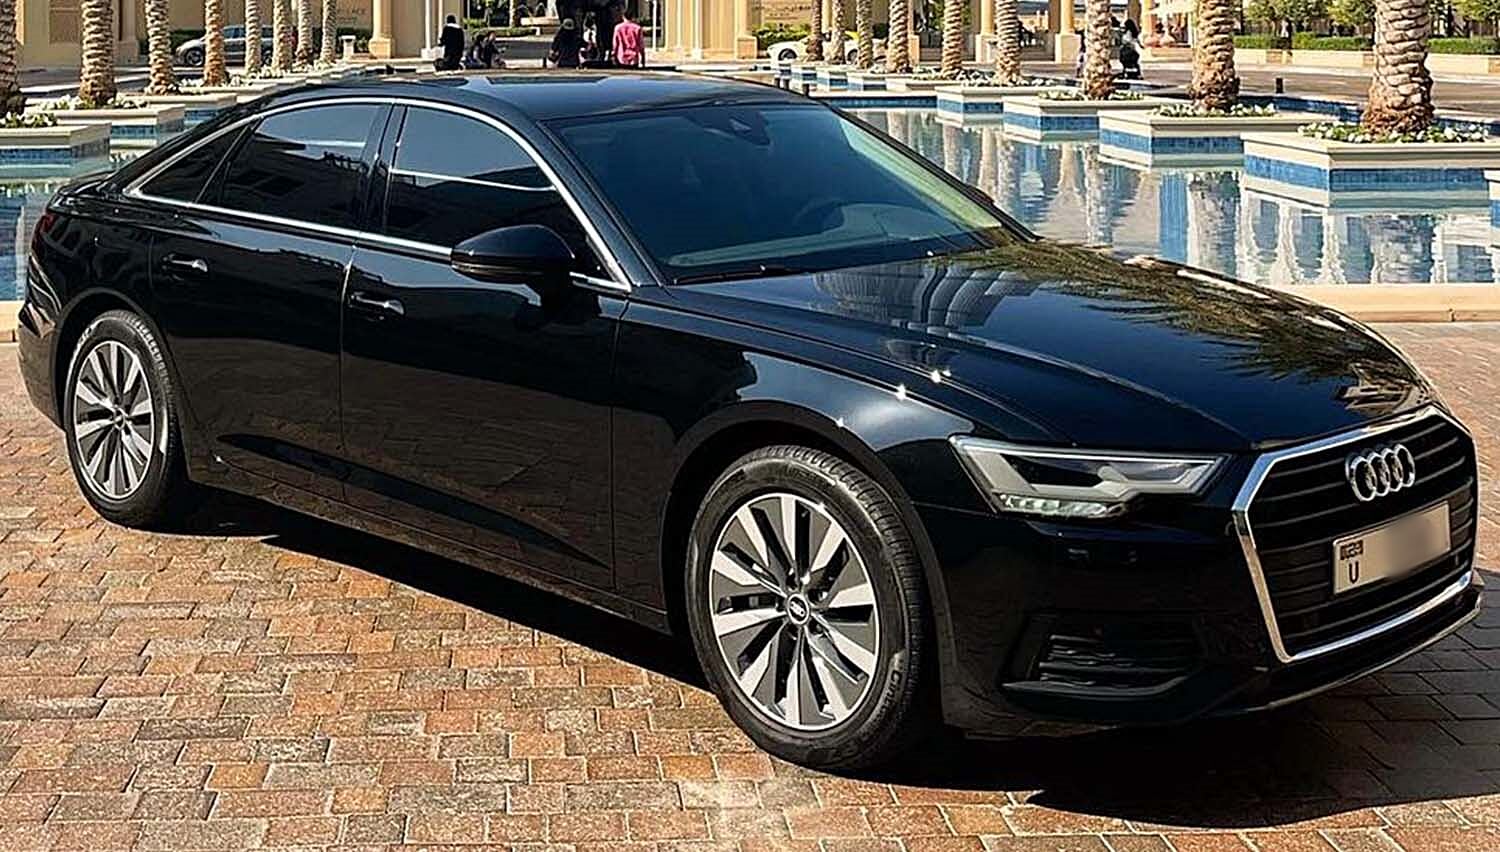
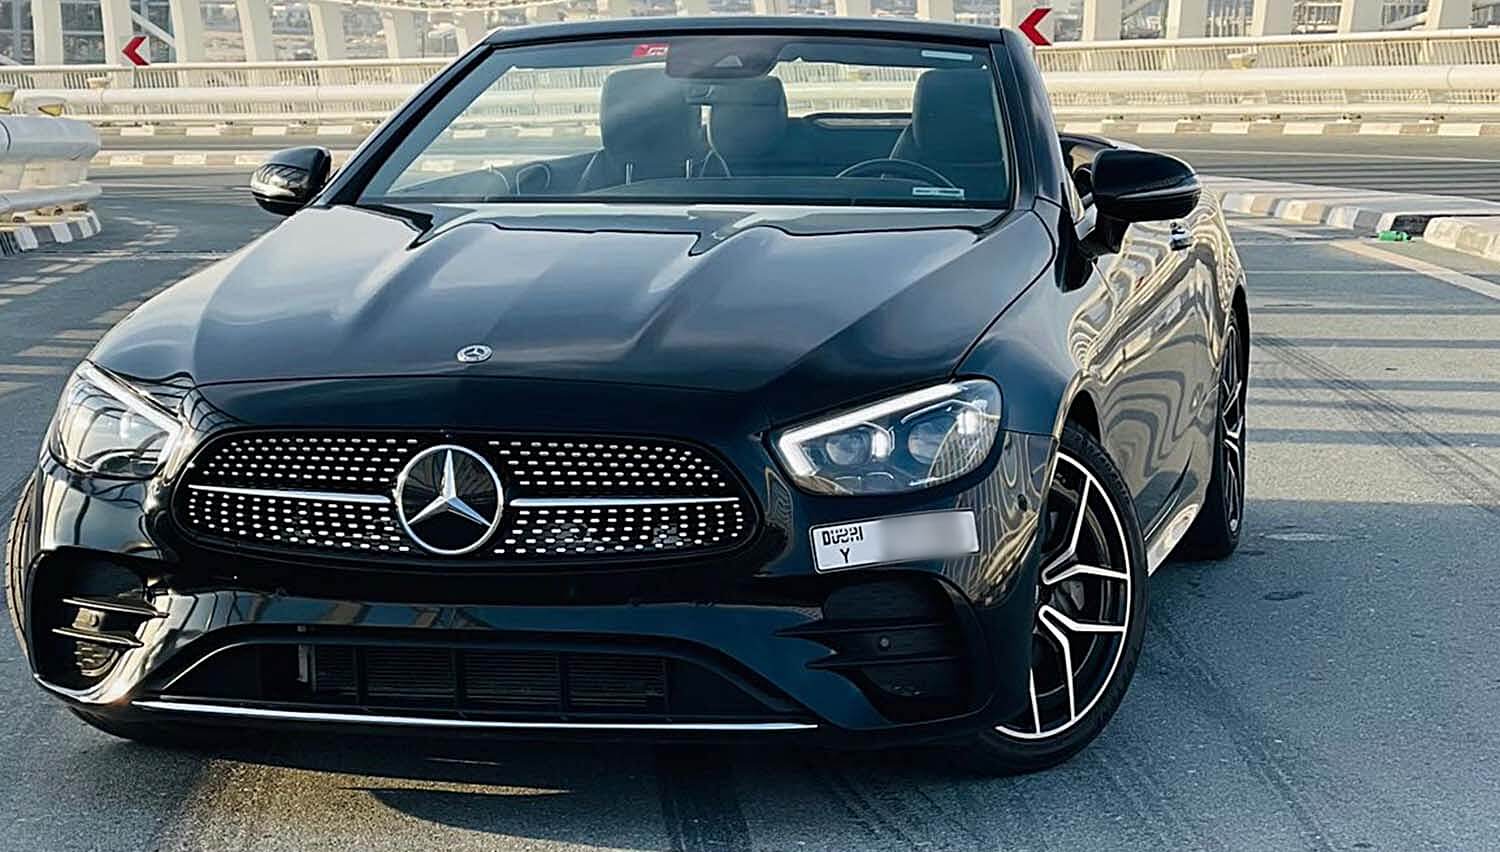
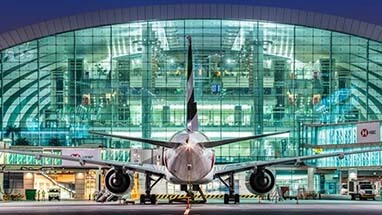
If you want to make your Car Rental Dubai Airport Terminal 2 process fast and time saving then it is best to reserve your vehicle in advance. Our online booking system allows you to pick the perfect rental for your needs. You can also make booking securely by only sending your driver license ticket picture. We guarantee you that, you will enjoy unbeatable rates and effortless experience from start to finish.
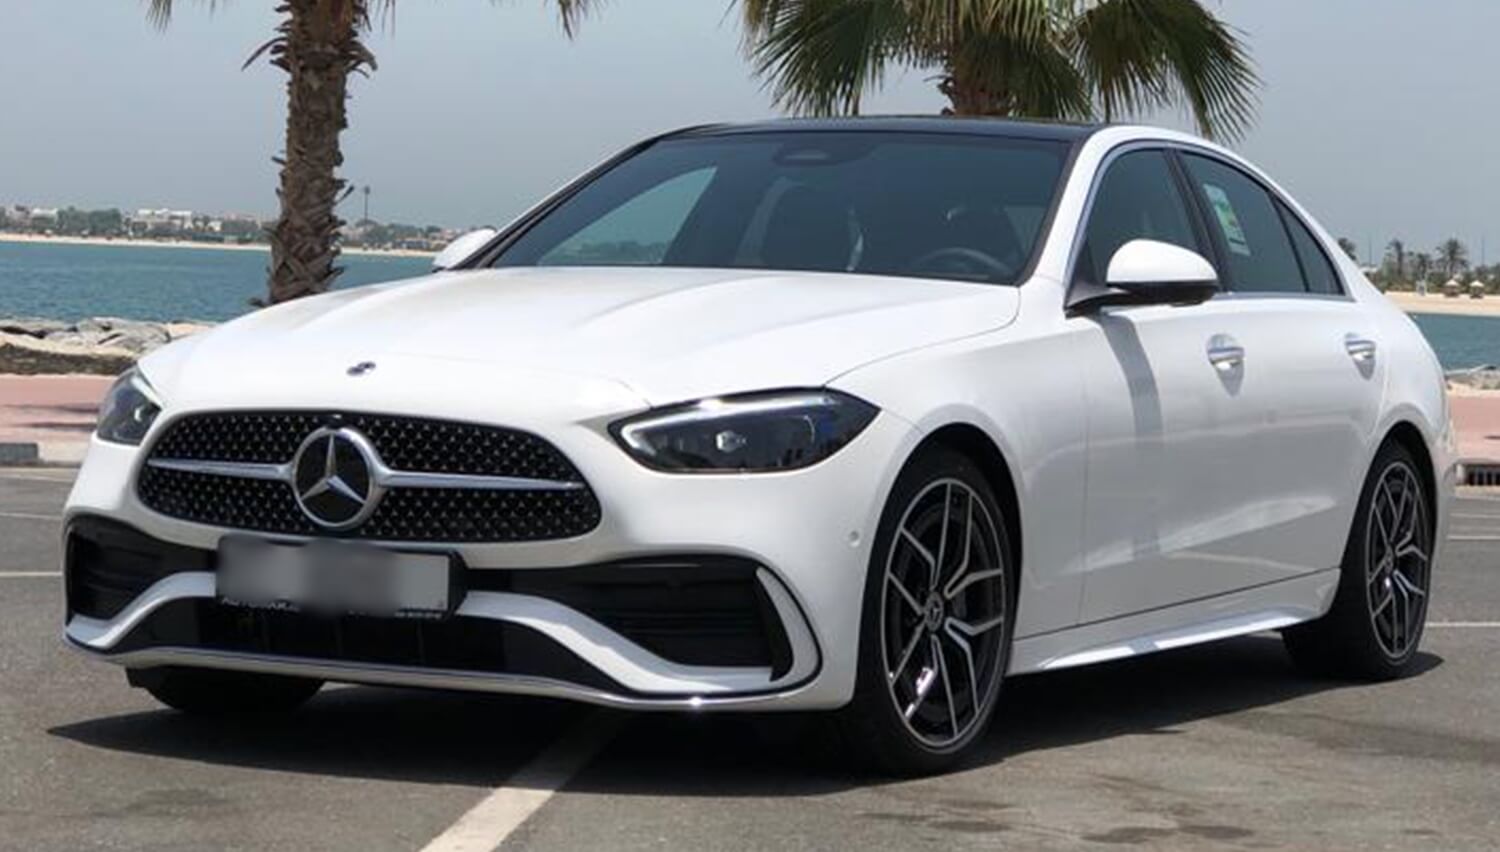
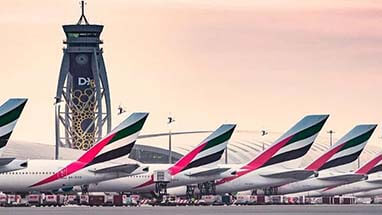
If you want affordable and Hassle-Free transportation from Dubai Airport Terminal 1 then choose the option of rental car. DXB Terminal 1 is a crowded airport and waiting for a taxi can be stressful, especially when you are travelling with family. But with our Rent a Car Dubai Airport Terminal 1 service, you can rest easy knowing that you'll have reliable and affordable transportation. Additionally, our service is affordable and can often be cheaper than taking a taxi or limousine service. Plus, you'll have the added convenience of having your own vehicle to use during your trip, giving you the freedom to explore your destination at your own pace. Furthermore, to proceed with booking You just need to provide your travel dates, flight information, and pick-up and drop-off locations. We offer a variety of vehicle options to choose from, so you can select the one that best fits your needs and budget. Our team will work with you to ensure a smooth and hassle-free experience from start to finish.